

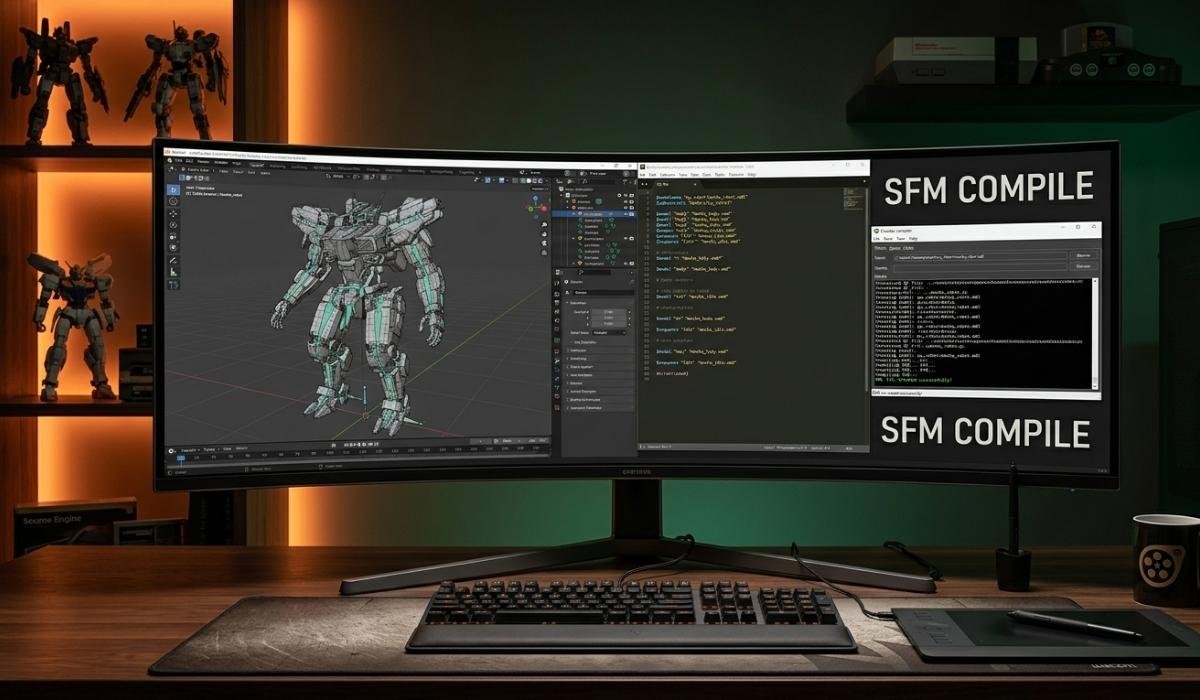
The 3D SFM compile process is an essential workflow for creators looking to import custom 3D assets into Source Filmmaker (SFM). Because the Source Engine is proprietary, it cannot read raw universal formats like FBX or OBJ directly. Instead, it requires a specific binary format known as MDL. The compilation process acts as a bridge, translating your geometry, skeletal rigging, physics, and texture references into a format the engine understands. By mastering this pipeline, you gain total control over your digital scenes, enabling the use of custom characters and props that go far beyond the base assets provided by Valve.
Quick Bio
| Attribute | Detail |
| Subject | 3D SFM Compile |
| Core Function | Conversion of 3D assets to Source Engine format |
| Primary Output | MDL (Model), VVD, VTX, PHY files |
| Required Tools | Studiomdl, Crowbar, Source SDK |
| Goal | Seamless integration into Source Filmmaker |
Understanding the Importance of Compilation
The 3D SFM compile process is the final step before an asset becomes usable in your animations. Without this conversion, your custom models remain trapped in incompatible formats, appearing as empty placeholders or failing to load entirely. By understanding how the compiler interprets your data, you can avoid common pitfalls like missing textures or broken bone hierarchies. Think of it as a translator that speaks “Source.” Once you provide the necessary instructions through a configuration file, the compiler builds a robust model package that ensures your custom creations move, light, and interact perfectly within the Source Filmmaker environment.
The Role of Studiomdl.exe
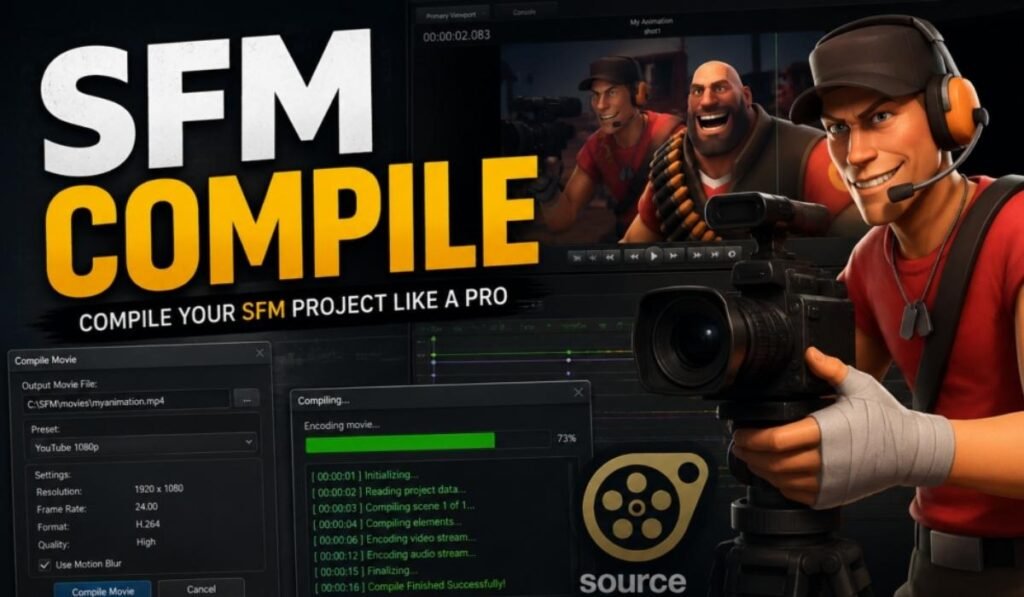
Studiomdl.exe is the engine room of your 3D SFM compile workflow. This command-line utility, provided by Valve within the Source SDK, does the heavy lifting by processing your mesh data and outputting the binary files required for the game engine. While it might look intimidating at first, it is highly reliable once you provide the correct arguments. Most users eventually transition to using front-end interfaces to manage these commands, but knowing that Studiomdl is the core engine behind the screen helps you troubleshoot errors effectively when your models refuse to compile on the first attempt.
Using Crowbar for Visual Compilation
Crowbar has become the industry standard for those who prefer a graphical user interface over raw terminal commands during a 3D SFM compile. It wraps the complex functionality of Studiomdl into a clean, easy-to-use window where you can select your model files, set your game directory, and monitor the compilation logs in real-time. By using Crowbar, you can avoid tedious command-line mistakes. Its ability to save presets makes it perfect for creators who compile assets frequently, allowing for a much smoother and faster iterative workflow when you are testing new character models or prop designs.
Preparing Your Model Assets

Before you even touch the 3D SFM compile tools, your source assets must be properly prepared. This means ensuring your model has a clean mesh, appropriate polygon counts, and a logical bone structure. If your vertices are scattered or your rig is non-functional, the compiler will likely throw an error. Keep your polygon count reasonable to maintain engine performance, and always double-check your export settings from programs like Blender or Maya. Proper preparation saves hours of frustration, as it is much easier to fix a model in your 3D software than it is to debug it after a failed compilation.
Mastering the QC Configuration File
The QC file is the instruction manual for your 3D SFM compile. It dictates exactly where the compiler should look for geometry, which textures to apply, and how the model should behave in-game. You will define your model name, point to your SMD or DMX files, and set up your texture paths using the $cdmaterials directive. A well-written QC script is the difference between a successful import and a “pink-checkerboard” error. By learning the syntax of these configuration files, you gain the ability to customize LODs, facial flexes, and collision meshes with precision.
The Significance of MDL Output Files

The goal of every 3D SFM compile is to generate the MDL file along with its companions: VVD, VTX, and PHY. The MDL file acts as the master container that the engine references, while the other files handle vertex data, hardware-specific meshes, and physics properties. Understanding this file structure is vital because they must all be kept together in the same directory. If one is missing, the Source Engine will fail to render the model correctly. Once these files are correctly generated, you can move them to your mod folder to begin testing.
Handling Textures with VMT and VTF
Textures are a frequent point of failure during a 3D SFM compile, but they are manageable with the right approach. The Source Engine uses VTF (Valve Texture Format) for images and VMT (Valve Material Type) for defining how those images interact with light. When you compile your model, the QC file tells the engine where to look for these VMT files. If your folder paths don’t match exactly, the engine won’t find the textures. Ensuring your material paths in the VMT files match the directory structure you have set up in your SFM mod folder is crucial.
Setting Up Physics for Collision
A model is not complete without a physics mesh, which you define during the 3D SFM compile process. This invisible mesh tells the engine how the model should react when it hits walls or floors. By including a collision model in your QC, you prevent objects from clipping through floors or floating unnaturally. You can use the $collisionmodel directive to point to a simplified version of your mesh. This keeps your scene efficient and ensures that your props behave physically as the audience would expect, adding a layer of realism to your animations.
Implementing Level of Detail (LOD)
To keep your scenes running smoothly, the 3D SFM compile process allows for Level of Detail (LOD) settings. These enable the engine to swap your high-poly model for a simplified version when the camera is at a distance. By defining these in your QC script, you ensure your project remains performant even when dozens of assets are on screen. This is a pro-tip for anyone working on large-scale scenes. It demonstrates a high level of technical mastery, showing that you care about both the visual quality of your models and the overall frame rate.
Troubleshooting Common Errors
Every creator encounters errors during their first 3D SFM compile. Whether it’s a “missing bone” warning or a “texture not found” error, the log file provided by your compiler is your best friend. Most errors are caused by simple path mismatches or incorrect syntax in the QC file. When an error appears, read the log carefully—it usually points to the exact line in your script that caused the crash. By methodically fixing these issues, you gain a deeper understanding of how the Source Engine expects data to be formatted and structured for its environment.
Organizing Your Mod Folders
Organization is the secret to a stress-free 3D SFM compile pipeline. Creating a dedicated folder structure—models, materials, and animations—mirrors the internal structure of the game engine and makes your workflow much more manageable. When you keep your source files and your compiled assets in consistent locations, you drastically reduce the chance of path errors. Many experienced animators use a specific “Source SDK” folder layout for their personal projects. Keeping your mod folder clean and logically organized is the hallmark of a professional who treats their work with serious care and technical precision.
Exporting from 3D Software
Before the 3D SFM compile, you must export your work from your 3D software of choice. Whether you use Blender, Maya, or 3ds Max, you will typically need a plugin to export to the Source-compatible SMD or DMX format. These plugins ensure that your rig and mesh data are formatted in a way that the compiler can interpret. Always verify your export settings; for example, ensuring your units match Source scale can save you from having to resize your models manually later. A good export is the foundation of a painless compilation experience.
Leveraging Animation Sequences
Beyond static props, the 3D SFM compile process is where you define your character’s animations. You can include sequences for walking, idling, or talking directly in your QC script. This allows you to “bake” the animations into the model itself, making them easily accessible in the graph editor. This is incredibly powerful for complex character models. By defining these sequences, you turn a simple prop into a living, breathing character that is ready to act in your scenes, showcasing the true versatility of the Source Engine’s animation capabilities.
Working with Facial Flexes
Facial flexes are essential for creating expressive characters. During the 3D SFM compile, you can define these flexes to allow for lip-syncing and emotional changes. This process involves mapping different “shapes” or “poses” of the face so that the engine can blend between them. While it adds a layer of complexity to the 3D SFM compile, the payoff is immense. Characters with well-defined facial flexes are far more engaging and believable. Mastering this is the transition from being a simple prop-placer to a true character animator in the Source Filmmaker software.
Automating with Batch Scripts
For those who work with large asset libraries, manual compilation becomes inefficient. You can write batch scripts to automate the 3D SFM compile for multiple models at once. By creating a .bat file, you can trigger the compiler for dozens of QC files with a single click. This is a game-changer for large-scale animation projects. It allows you to focus on the creative side of filmmaking while the computer handles the repetitive technical tasks. Automation is a sign of an advanced user who understands the value of time in high-quality animation production.
Version Control for Projects
When managing multiple iterations of a model, version control is vital. Throughout the 3D SFM compile, you might make dozens of changes to your geometry or textures. Keep your files named clearly—for example, model_v1, model_v2—so that you can always roll back if a compilation fails or an animation breaks. This simple habit prevents data loss and keeps your project history clear. Having a “clean” backup of your source files ensures that you can always re-compile your models if something goes wrong during a software update or a file migration.
Understanding Source Engine Limitations
While the 3D SFM compile is powerful, it is important to remember the limitations of the Source Engine. The engine is quite old, meaning it has specific constraints regarding polygon counts, texture sizes, and bone limits. If your model is too complex, it might simply refuse to compile or crash your scene. Designing your models with these technical constraints in mind is part of the art form. By respecting the engine’s boundaries, you ensure that your work is not only visually stunning but also technically stable and reliable for long-term animation use.
The Role of Community Resources
You are not alone in your 3D SFM compile journey. The community has created countless tutorials, forums, and wiki pages to help troubleshoot the unique quirks of the engine. Whether you are searching for a fix for a specific compiler error or looking for a plugin to help with your exports, there is likely an answer online. Engaging with these resources is the fastest way to grow your skills. Don’t hesitate to share your own findings, as the collective knowledge of the community is what keeps the engine alive and thriving for creative projects today.
Final Thoughts on Technical Mastery
Mastering the 3D SFM compile process is a journey of technical discovery. It bridges the gap between your artistic vision and the reality of game engine development. While the technical steps can feel rigid, they provide the structure necessary to create professional-grade animations. By patiently working through the compiler’s requirements, you unlock the ability to bring any 3D asset into your scenes. This control is the ultimate tool for a storyteller.
FAQs
- What is the main purpose of the 3D SFM compile process?
- It converts raw 3D mesh formats like FBX or OBJ into the specific MDL format that the Source Engine requires to load models into Source Filmmaker.
- Do I need to be a programmer to use 3D SFM compile tools?
- No, while it uses command-line utilities, most users employ graphical front-end tools like Crowbar to make the process visual and straightforward.
- Why do my models show a pink and black checkerboard?
- This error indicates that the engine cannot find or load the materials (textures) associated with your model, usually due to incorrect file paths in your VMT files.
- Can I use the 3D SFM compile process for Source 2?
- No, Source 2 uses a completely different asset pipeline, and the traditional 3D SFM compile workflow is only intended for the original Source Engine.
- What are the essential files needed for a model to work?
- A working model requires an MDL file, a VVD file, a VTX file, and a PHY file, all placed correctly within your mod directory structure.
